
Processed image from this shoot
Koi Cam Photo Shoot
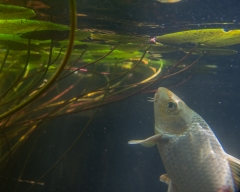
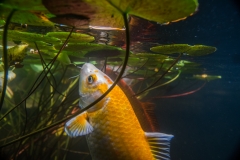
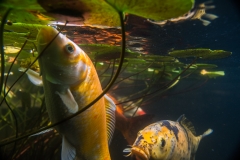
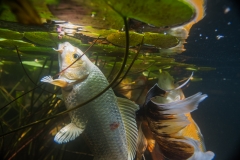
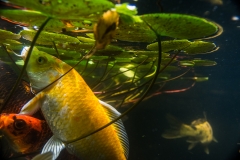
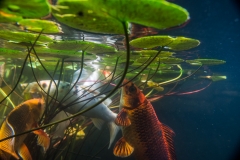
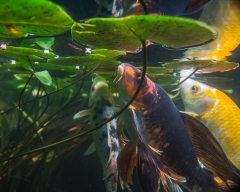
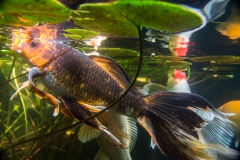
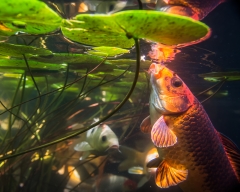
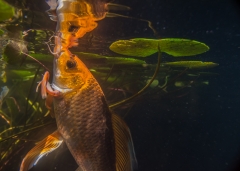
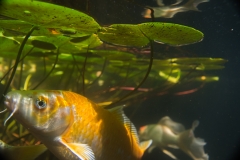
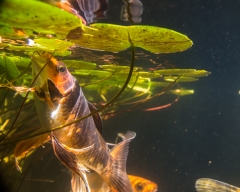
My inexpensive Koi Cam photo shoot. These pics are the result of an underwater picture taking setup I did. I got the idea from a photography course DVD my wife gave me for Christmas. Basically it’s a $15 underwater camera housing for my digital camera. Just my style….. make it happen on the cheap. And yes, you read right, a $15 underwater camera housing for my expensive camera. I now call it my Koi Cam. Here are the results, and then I’ll explain after you look at the pics.
Click on any pic for the larger views
OK. So you want to know how I did it? Simple. I bought a $15 aquarium. That’s all there is to it. Well sort of. The simplistic structure of the setup is to just set the camera in the aquarium, sink it part way in the water, and take the picture. But I wanted to make it a little more sophisticated, easy to take the pics, and most of all, safer for the camera.
The Setup
To start, I cut a piece of two inch Styrofoam for an exact tight fit, the dimensions of the aquarium, so the bottom could slip into/through the opening. I then put layers of duct tape at the top of the aquarium to make the upper lip too large for the top of the aquarium to slip through the hole in the Styrofoam. I now had a setup that would safely float the rig on the water. Next I placed bricks in the aquarium for ballast to sink it about half way in the water. So now I was ready to set the camera and start shooting.
But not so fast. I thought about the remote trigger, but decided it was time for me to learn the Wi-Fi capabilities of the camera. I loaded the wireless Nikon App on our iPad and I was ready to go. 1. Set aquarium in the Koi pond. 2. Turn on camera and decide on exposure settings. 3. Enable Wi-Fi in the camera menu and set camera in the aquarium. 4. Go to settings on the iPad, select Wi-Fi settings, and then selected Nikon network, when it finally showed. 5. Open Nikon App and select take picture.
Bingo — right there on the iPad was exactly what the lens sees. Plus a trigger button. Then touch the screen at the place you want to focus, the camera automatically focuses to that spot, and it’s ready to take pics. If all of this makes very little sense, check the pictures below that I took of the setup with my phone. They may help.
Ready to take Pics
So I baited the Koi, sat myself in a chair on the deck, and waited. And waited. And waited. Then waited some more. Until finally the batteries went so low because of the live view drain, the Wi-Fi cut off. My miscalculation on the whole plan missed the idea that the koi would be too skittish with this new fangled thing floating in the pond. They cowered at the bottom refusing to even come up for food. Very unlike my Koi. So I packed everything back up, but left the rig (without the camera) floating on the pond, just for them to get used to it. They finally figured this thing was a new part of the pond, and two days later, I started the same scenario all over…. with success.
Koi Cam Details
- D7200 camera
- Sigma 17-50mm f/2.8 lens set at 20mm
- I put on a rubber lens hood – A rubber hood is ideal for any situation where you need to place your lens directly against the glass to remove the possibility of reflections. (ie. The zoo, an commercial aquarium, or this case my ‘koi cam’)
- I used the Aperture mode, set at f/4 (Instead of f/2.8 for a little extra focus depth)
- ISO at 800 (To keep the shutter speed up a little)
- The pictures actually ended up with a shutter speed variable between 80 and 250

iPad live view of what the camera sees – ready to take pic.
Hope you enjoyed the Koi Cam shots

2 Comments
Hi Frank
Enjoyed the pictures; good job. Thanks for sharing. Hi to Shirley.
Annette
Hi Frank,
Thanks for sharing your pictures. I loved the koi pictures. You had an ingenious set-up. The bumble bee with the pollen was terrific.
Ernie